



We are all Pearls...
created by agitation for agitation...


. . . sing of this in the song "Pearls"
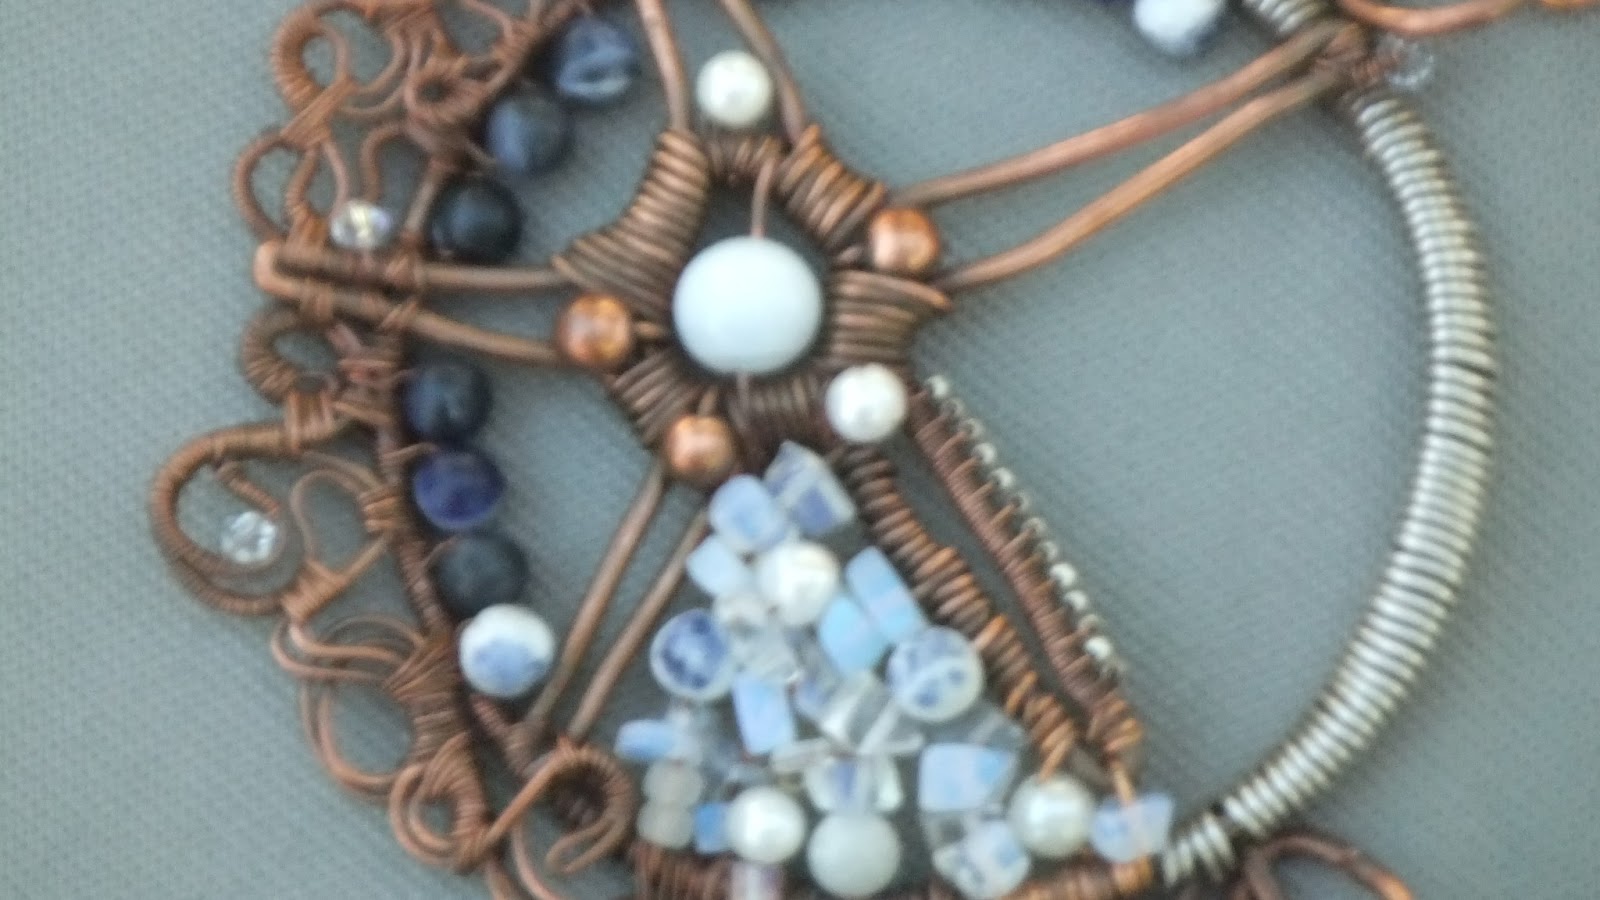
While the lyrics to this cry for women who are oppressed and have no options gives a voice to the voiceless...it also speaks of the heroism those same women...all women who can take a gran of anything and turn it into something precious...something. I choose to use my pliers, pearls, moon stone, cooper and aluminum wire, sodalite white jade, crystals and glass to represent the change that women...aggregated...coming together with men who care for and support them will make for themselves. . .ourselves.
About the design:

features:
- Adninka motif focal Sesa Wo Suban - "Transformation and change" - pearls, opalite, cooper beads, sodalite , cooper and alunim wire, white jade, crystal
- Adninka motif focal Sesa Wo Suban - "Transformation and change" - pearls, opalite, cooper beads, sodalite , cooper and alunim wire, white jade, crystal
- Dangle focal;
- 2 - wire wrapped glass, cobalt blue, "trade beads"
- 1- ceramic elongated drop, blue with gold-like flakes (has a Lapis Lazuli look)
- clasp can be substituted with a a cooper "S"
- 1 - "star child" symbol (little more than 1" in any direction can be used to join necklace extenders and focal or used alone as a focal. At the center of the symbol is a sodalite bead and 2 Montana Blue crystals.
- 12" copper chain necklace extender with small "s" link closures a each end
- 16.5" blue suede and leather necklace or necklace extender with;
- each end of the necklace features copper coils a little more that 3/4" in length
- hand made cooper closure with
- 3 dangles on the closure;
- 2 sodalite wire wrapped beads and 1 double dangle - copper wrapped bead and sodalite wrapped bead
- 3 sets of earrings - all sets are finished with a coil
- 1 set of "Sankofa" measure 3-3/4" from ear wire to bottom of coil. Wire is shaped in the Adinkra symbol of "Sankofa - don't be afraid to go back and get what you forgot." Ear ring is completed with a 1-1/4" ceramic elongated drop, blue with gold-like flakes (has a Lapis Lazuli look)
- 1 set white jade globes encircled by tiny moonstone with a drop of Montana Blue crystal and a tiny triangle of moonstone with a fierce blue fire inside. (These fantastic bits of moonstone fire came from Turquoise Magpie.)
- a tiny triangle of moonstone with a fierce blue fire inside tops a Montana Blue crystal
- Ear Cuff and dangle - cuff randomly embroiders the ear with fresh water pearls, sodalite and tiny drops of flashing moonstone. Cuff ends at bottom of ear and has a space for dangle to hook into a pierce ear. Dangle is shaped as a Nsoromma, "child of the heavens or morning star."
- 2 - wire wrapped glass, cobalt blue, "trade beads"
- 1- ceramic elongated drop, blue with gold-like flakes (has a Lapis Lazuli look)
- clasp can be substituted with a a cooper "S"
- each end of the necklace features copper coils a little more that 3/4" in length
- hand made cooper closure with
- 3 dangles on the closure;
- 2 sodalite wire wrapped beads and 1 double dangle - copper wrapped bead and sodalite wrapped bead
- 1 set of "Sankofa" measure 3-3/4" from ear wire to bottom of coil. Wire is shaped in the Adinkra symbol of "Sankofa - don't be afraid to go back and get what you forgot." Ear ring is completed with a 1-1/4" ceramic elongated drop, blue with gold-like flakes (has a Lapis Lazuli look)
- 1 set white jade globes encircled by tiny moonstone with a drop of Montana Blue crystal and a tiny triangle of moonstone with a fierce blue fire inside. (These fantastic bits of moonstone fire came from Turquoise Magpie.)
- a tiny triangle of moonstone with a fierce blue fire inside tops a Montana Blue crystal
KEY ELEMENTS OF THE PENDANT/FOCAL:
SESA WO SUBAN (Adninka term)
meaning - "Change or transform your character "
symbol of life transformation
This symbol combines two separate Adinkra symbols, the "Morning Star" which can mean a new start to the day, placed inside the wheel, representing rotation or independent movement.
sodalite = endurance, peace and harmony
moonstone = intuition
pearls = tear drops of the moon


